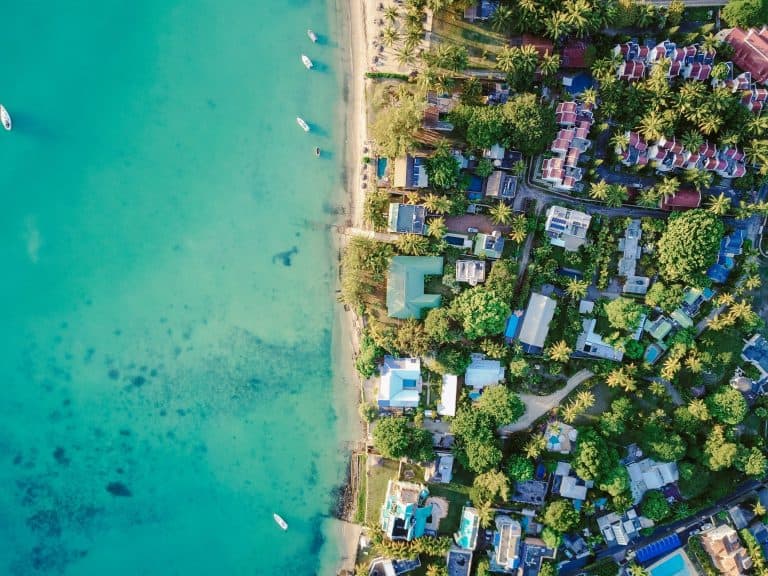
If you are looking for a unique way of capturing the highlights of your travel adventure you have arrived at the right address. This post will go right down your street. Regardless if you have just got your hands for the first time on a drone, or if you are an advanced user, you are in for a handful of tips that will really make your travel videos look like they came out from a Hollywood movie studio.
Let’s not waste any more time and get you going!
#1 Slow down
One of the mistakes that all drone users are doing is flying the thing too damn fast. Today’s drones can go as high as 30 mph (or 50 km/h) if you crank up the power and most beginners seem to enjoy doing that for some reason.
But if you want to make the most out of your shoots you want to fly your drone nice and slow. This is not a race. By flying slowly you will get those cinematic shoots which you see in the movies and you will not need to spend time tweaking your video when you are editing it to get that nice slow-motion action going.
So next time you take it out for a fly remember – smooth and slow movements are the way to go for the absolute best footage.
The only time when you can fly your drone faster is when you are shooting really, really open and wide landscapes where everything is so far away that you can’t actually notice any movement in the shoot unless you are flying faster.
So that’s easy to implement, right?
#2 Get some sunglasses
I don’t mean for you, but for your drone. Well, yeah you can have your shades on as well if want to, but in this post we’re talking about your drone. Neutral Density (ND) filters aka sun glasses for cameras are going to significantly improve the quality of your video. There’s a simple reason why you want to get these.
The problem that most drone cameras have is that they are using a really high shutter speed which causes the footage to get jittery sometimes – especially if there’s a lot of natural light coming in.
So once you’re done the filming and you check out your video you might notice this jittery/fuzzy thing going on for objects that have a rich texture such as roofs or the surface of the water.
Anyways, without getting into too much technical details, an ND filter will basically reduce the shutter speed to the point where all that fuzzy stuff goes away and you get that nice motion blur which makes your footage look more cinematic and so much easier to watch.
These ND filters usually come in packs or sets which contains many filters of different intensities which you can use based on how bright the scene is. For super bright shoots you want to use a darker ND filter – this is going to be an ND 64 or ND 32, and for not so dark scenes you will use a not so dark filter – maybe an ND 4 or ND 8 for example.
Picking the right ND filter is pretty straight forward. All you need to do is set your camera on manual and slam on different filters until the shoot is not overexposed.
#3 Take advantage of the golden hour
 Hmmm, the golden hour – what the heck is that? Will it pretty simple actually. It’s just a fancy term used by videographers and photographers to overcomplicate things and make them look smarter.
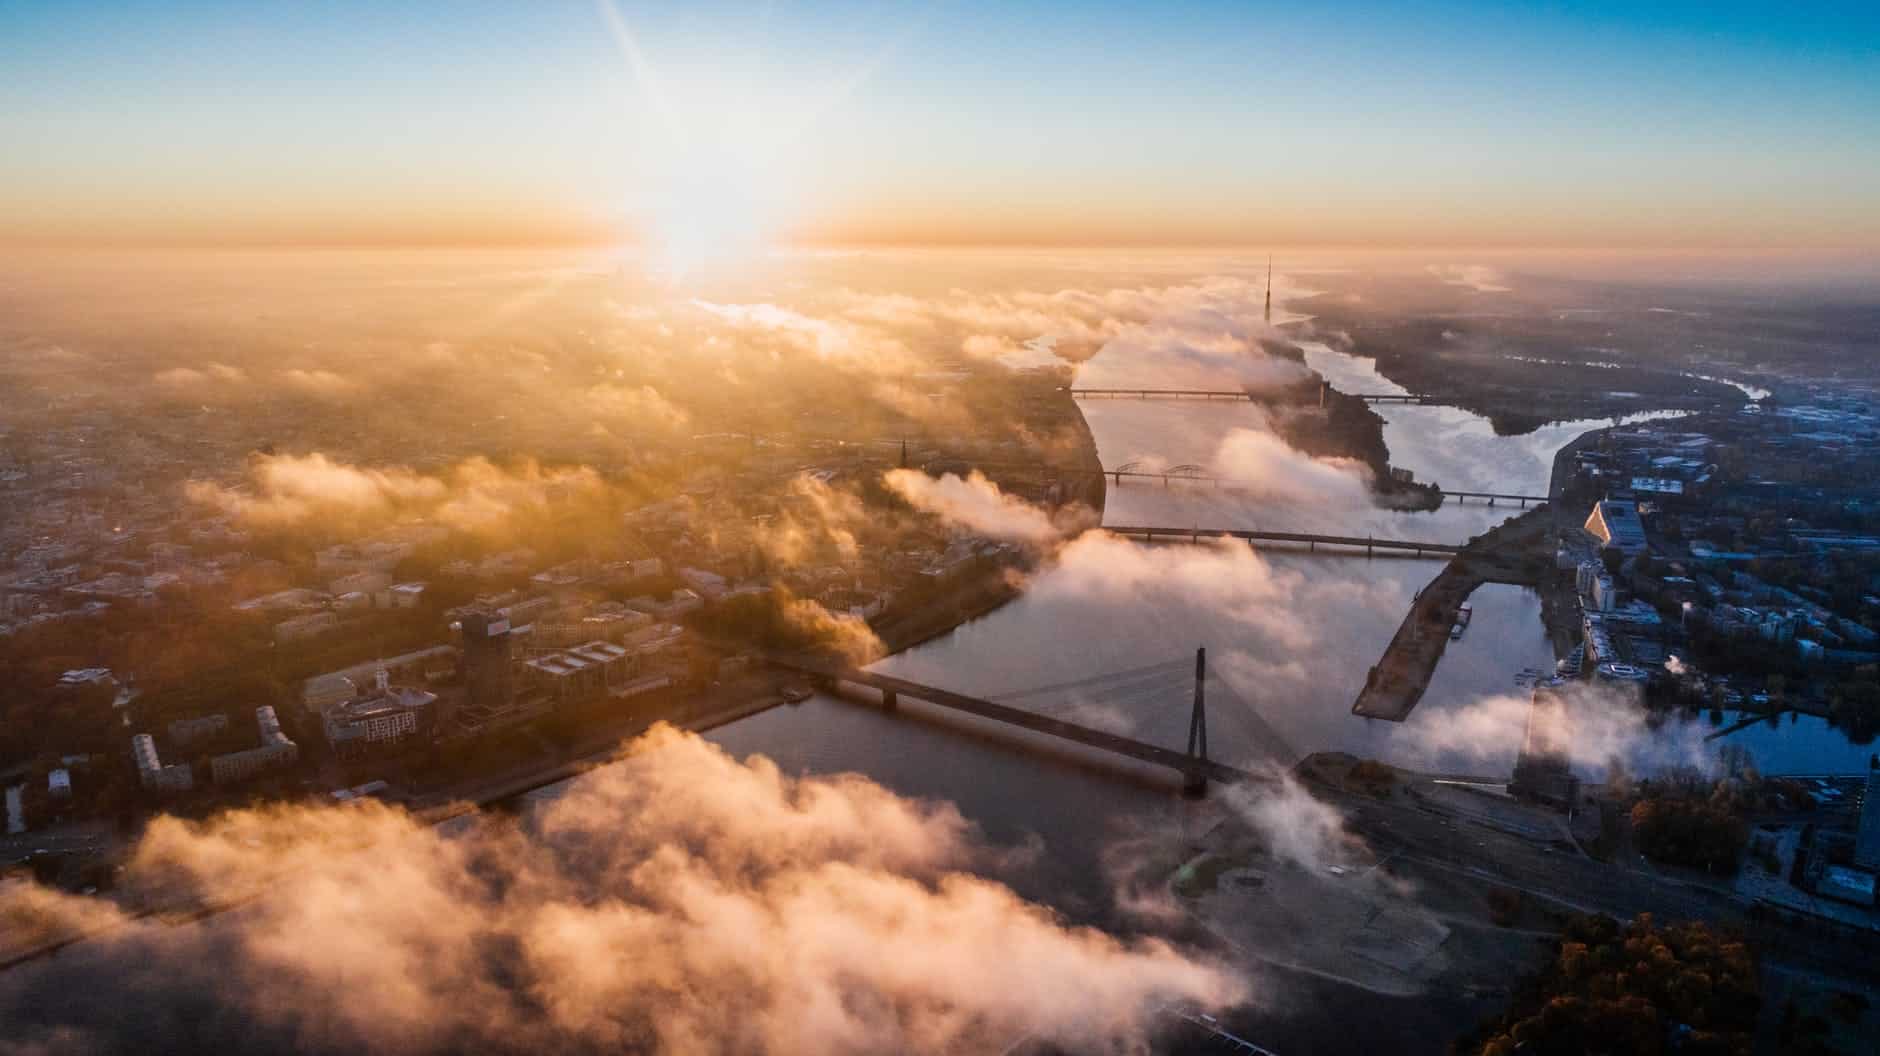
You know that time in the morning when the sun rises and everything looks so much different in that light? Or that moment right before the sun sets down and it looks like the sky is on fire and there are all kinds of shadows going on?
Well, that’s what is referred to as the golden hour. It’s not actually a specific hour during the day, it’s simply that moment – either early in the morning, either at sunset – when the sun is close to the horizon and everything looks so much more epic, emotional and better than it looks at mid-day. The landscape shots will look amazing at this time. That’s when you want to film.
Almost all consumer-grade cameras, including the ones used on drones, will overexpose your shoots. That’s one of the reasons we recommend using ND filters. But filming either early in the morning or right before the sunset when there is not that much natural light, it’s another way to avoid this problem.
#4 Plan your shoot
 Many drone videos lack simply because the person flying the drone didn’t actually do any kind of planning before starting to shoot. So instead of just getting your drone up in the air and trying to randomly shoot everything around you, take your time and try to picture in your mind how you would like the finished video to look like.
Sometimes, listening to some nice music which you would like to use as the soundtrack of your travel video will help you get in the mood and get a better feel of what and how you should film.
Even though most drone shoots look good simply because the scenery and the aerial view does most of the job, the vast majority of the drone shoots look so predictable and are not really that engaging.
A quick fix to this which will make your next drone travel video much more interesting to watch is to start using multiple layers in your shoot. So instead of having everything in the shoot right from the start, you can unveil different landscapes gradually.
This will create a buildup and the viewers will be hooked to your video, always waiting to see what’s next. Shooting an unveiling type of scene is very easy and everyone can do it. You just need to do a little bit of planning.
You want to have a background – which will be the main point of interest – and foreground – which can basically be any object that blocks the view of the background.
For example, if you want to shoot an entire city from above, instead of just flying your drone over it you could slowly fly the drone towards a forest (the foreground) which blocks the view of the city, and then slowly and smoothly raise the drone’s height until the city (the background) is unveiled.
The foreground is not the important thing here – it can be literally anything big enough to cover the main shoot. All your focus should be on unveiling that background in a nice and smooth way.
#5 Video editing
Lastly but not least, you want to take good care of your travel footage in post-production and don’t just focus on showcasing the highlights of your trip, but also on making the whole video look professional. If you like to try out new things and you feel creative, here are a few video editing tips that will work well for drone footage.
First and foremost you want to cut out any unwanted camera movement – such as adjusting the camera angle, the landing, picking up speed or slowing down and so on and so forth. Keep in your final video edit only the shoots which are nice and smooth.
The next thing you want to do is add a little bit of a zoom effect on top of the existing movement. This should be really subtle and most of the times it’s not even noticeable by the viewers, but it will draw their attention to the shoot more.
The last thing you want to take care of is color grading and color matching. You probably noticed already that your footage doesn’t exactly look like all those nice drone shoots you see on YouTube. That’s mainly because of color grading.
This small little thing will do a ton of difference. For most drone shoots, bringing out more of the warm colors and booting up the saturation a little bit will do the job, but depending on the specifics of your raw footage, you will probably need to tweak your knobs until you get it right.
Also, if you plan on including footage from other cameras in your final travel video (maybe you have some shoots you took with your iPhone or GoPro), you must color match all the videos coming from different cameras so that they look like one single video.
Get out there and film
So there you guys have it – a handful of highly actionable filming and editing tips that will step up your done travel video game. We’re looking forward to seeing your videos and to reading your comments down below.
This post was contributed by Veedyou.com – an online video editing company offering services to customers all around the world. They have done their fair share of drone video editing so they must know a thing or two about how to make your drone travel videos look better.

