

Do you want to be able to capture all the amazing sights, stunning landscapes and beauty that you come across when you travel? For most people the answer is a definitive ‘Yes!’, and you may even have tried snapping your fair share of travel photos in the past – only to find that they didn’t do the things that you saw justice.
Make no mistake, travel photography can be tricky and there are lots of challenges that will prevent you from snapping the perfect photo. That being said there are things that you can do to start snapping much more impressive photos than you probably have been up to this point.
Check out: Best Travel Websites 2018
Pack What You Need
Before you fall into the trap of thinking that the reason your travel photos don’t hit the mark is because of your equipment – think again. Technique and approach matter more than the equipment that you use, and if you know what you’re doing you can snap truly amazing photos using nothing more than the camera on your smartphone.
That being said there are a few things that you could pack that may help you to snap more impressive travel photos:
- Tripod stand
If you feel that you’re going to have the time to carefully frame and position photos while you travel, having a tripod stand is a good addition to your toolkit. Nowadays there are numerous portable ‘travel’ stands that are available, and they will help you to keep your camera steady as you frame your shots.
- Camera neck strap
It can take some time to get used to having your camera dangling from your neck, but it is a good habit if you want to snap travel photos. All too often by the time you reach into your bag, rummage around, find your camera, and raise it to take the shot – the moment you were trying to photograph would have passed. With it hanging around your neck however, you just need to raise it, remove the lens cover (if any), and click.
Aside from that you don’t really need to be too concerned about your equipment. Naturally you’ll need a camera, but a basic digital camera or smartphone will suffice. If you want you could pack things like spare batteries, storage, and so on – which can be helpful, but won’t directly improve your photos.
Start Framing Better Shots
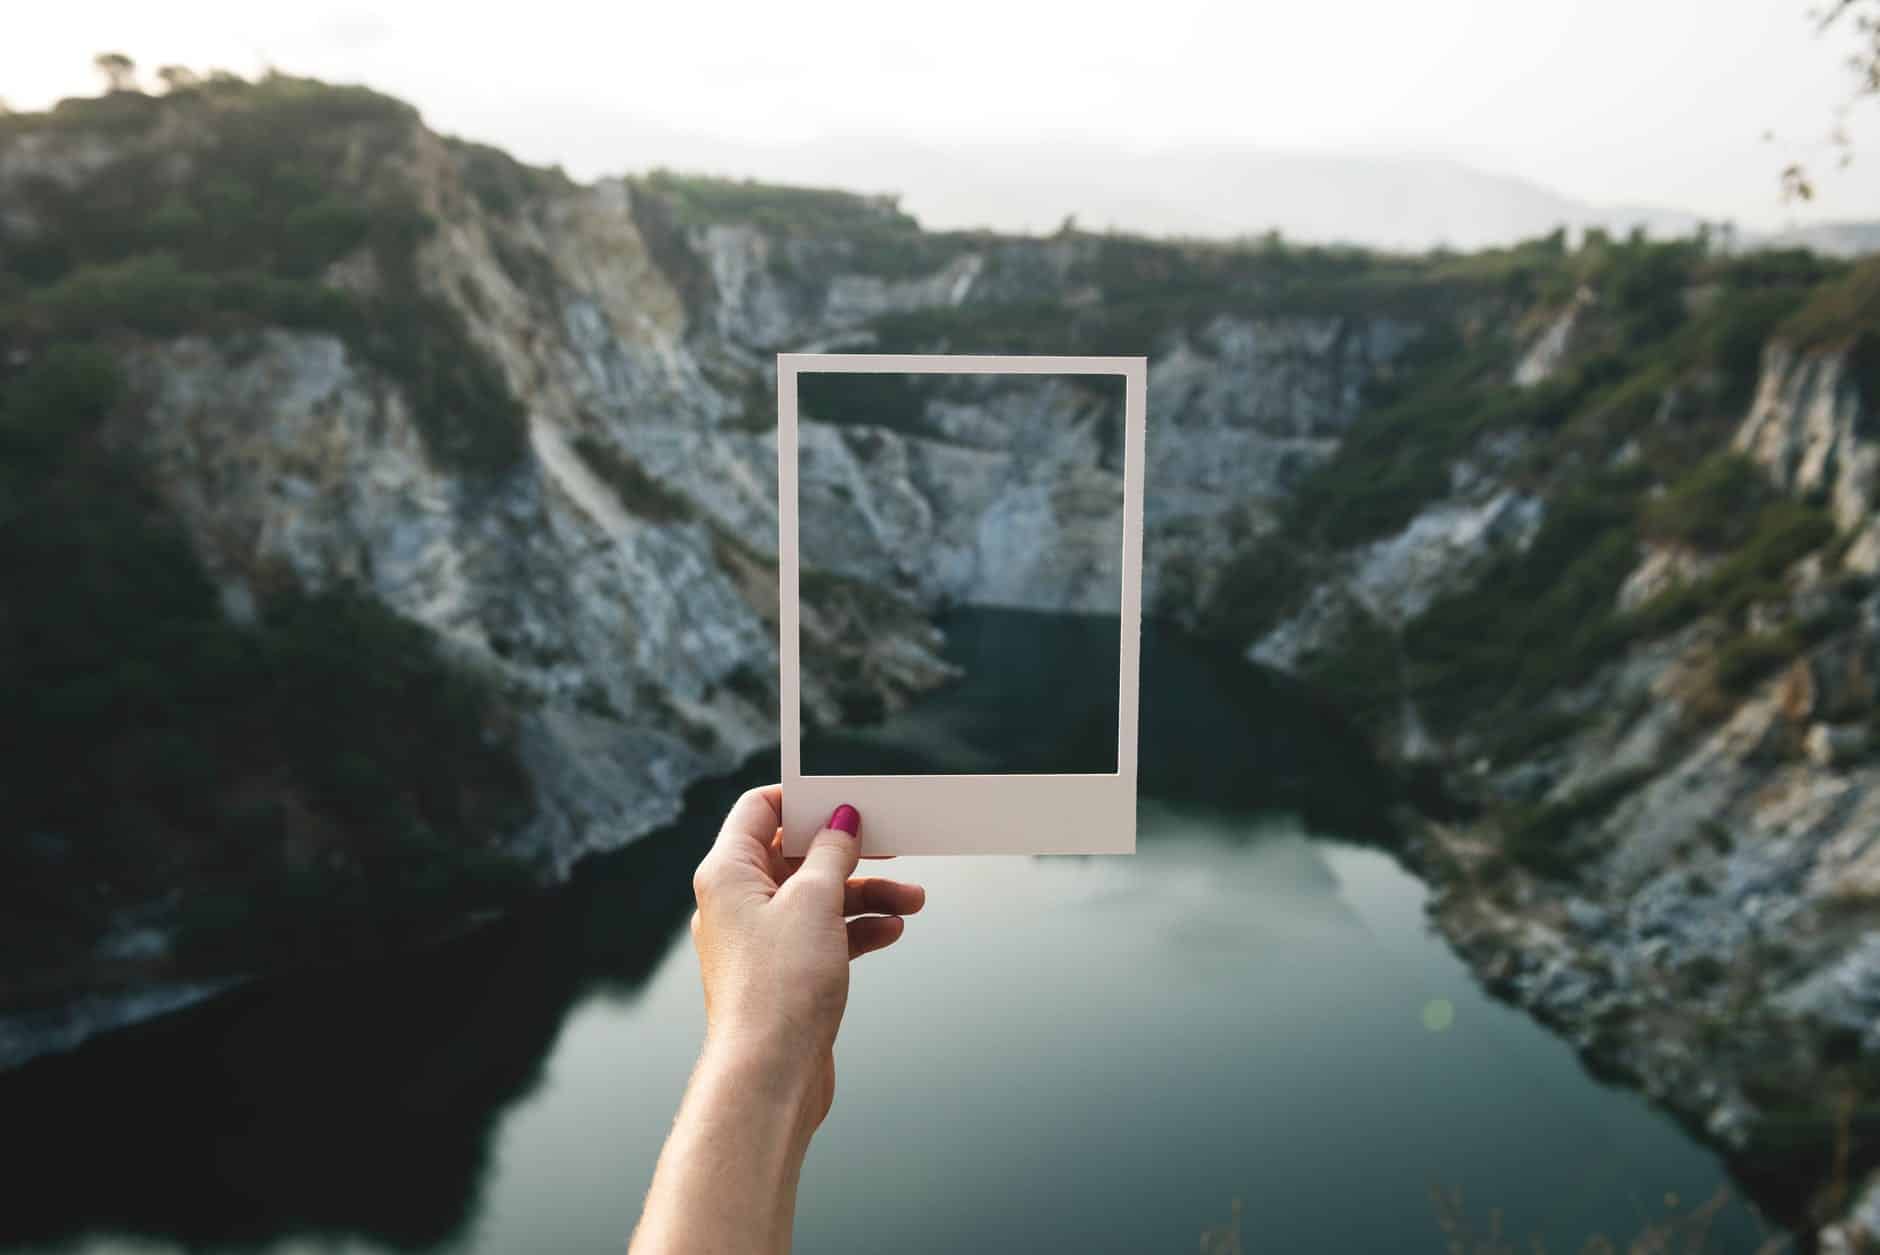 The right framing and composition techniques can make a world of difference to your travel photos, and immediately propel them from being mediocre to stunning. While mastering compositional techniques does take time and experience, there are a few simple rules that you can use to start off:
- Rule of thirds
The rule of thirds is the most popular framing and composition technique because it is easy to apply to photos and produces good results. Basically it requires you to use a 3×3 grid on your image (that can be enabled via the grid feature on most cameras), and then position elements using the gridlines and intersections.
Overall the rule of thirds will help you to snap travel photos where the subject is placed off-center, and should look more visually interesting as a result.
- Fill the frame
As the name suggests, this technique involves filling the frame with the subject – leaving no room for anything else. It can produce some very interesting photos that reveal details that may otherwise be obscured.
- Leading lines
Look for lines that you can use to ‘lead’ the viewers’ gaze to your subject, such as a road, path, river, or something else. By including these lines when you frame your shot you’ll be able to guide what viewers see along the path to your subject.
- Isolate the subject with negative space
Don’t always feel the need to include as much as you can in your frame, and sometimes you may try to do the opposite – and isolate the subject instead. With this minimalist approach there’ll be less distractions and it will be easier to contrast the subject against them.
While there are lots of other ways that you can improve your composition using patterns, symmetry and other techniques – the ones listed above are some of the easiest methods to start with. As you start to become more adept at framing your travel photos, you can explore other techniques and try them out too.
Tips for Impressive Travel Photography
 In addition to improving the techniques you use to frame and compose your travel photos, there are several other ways that you can make them look much more impressive. To be more specific, you should try these tips if you get the chance:
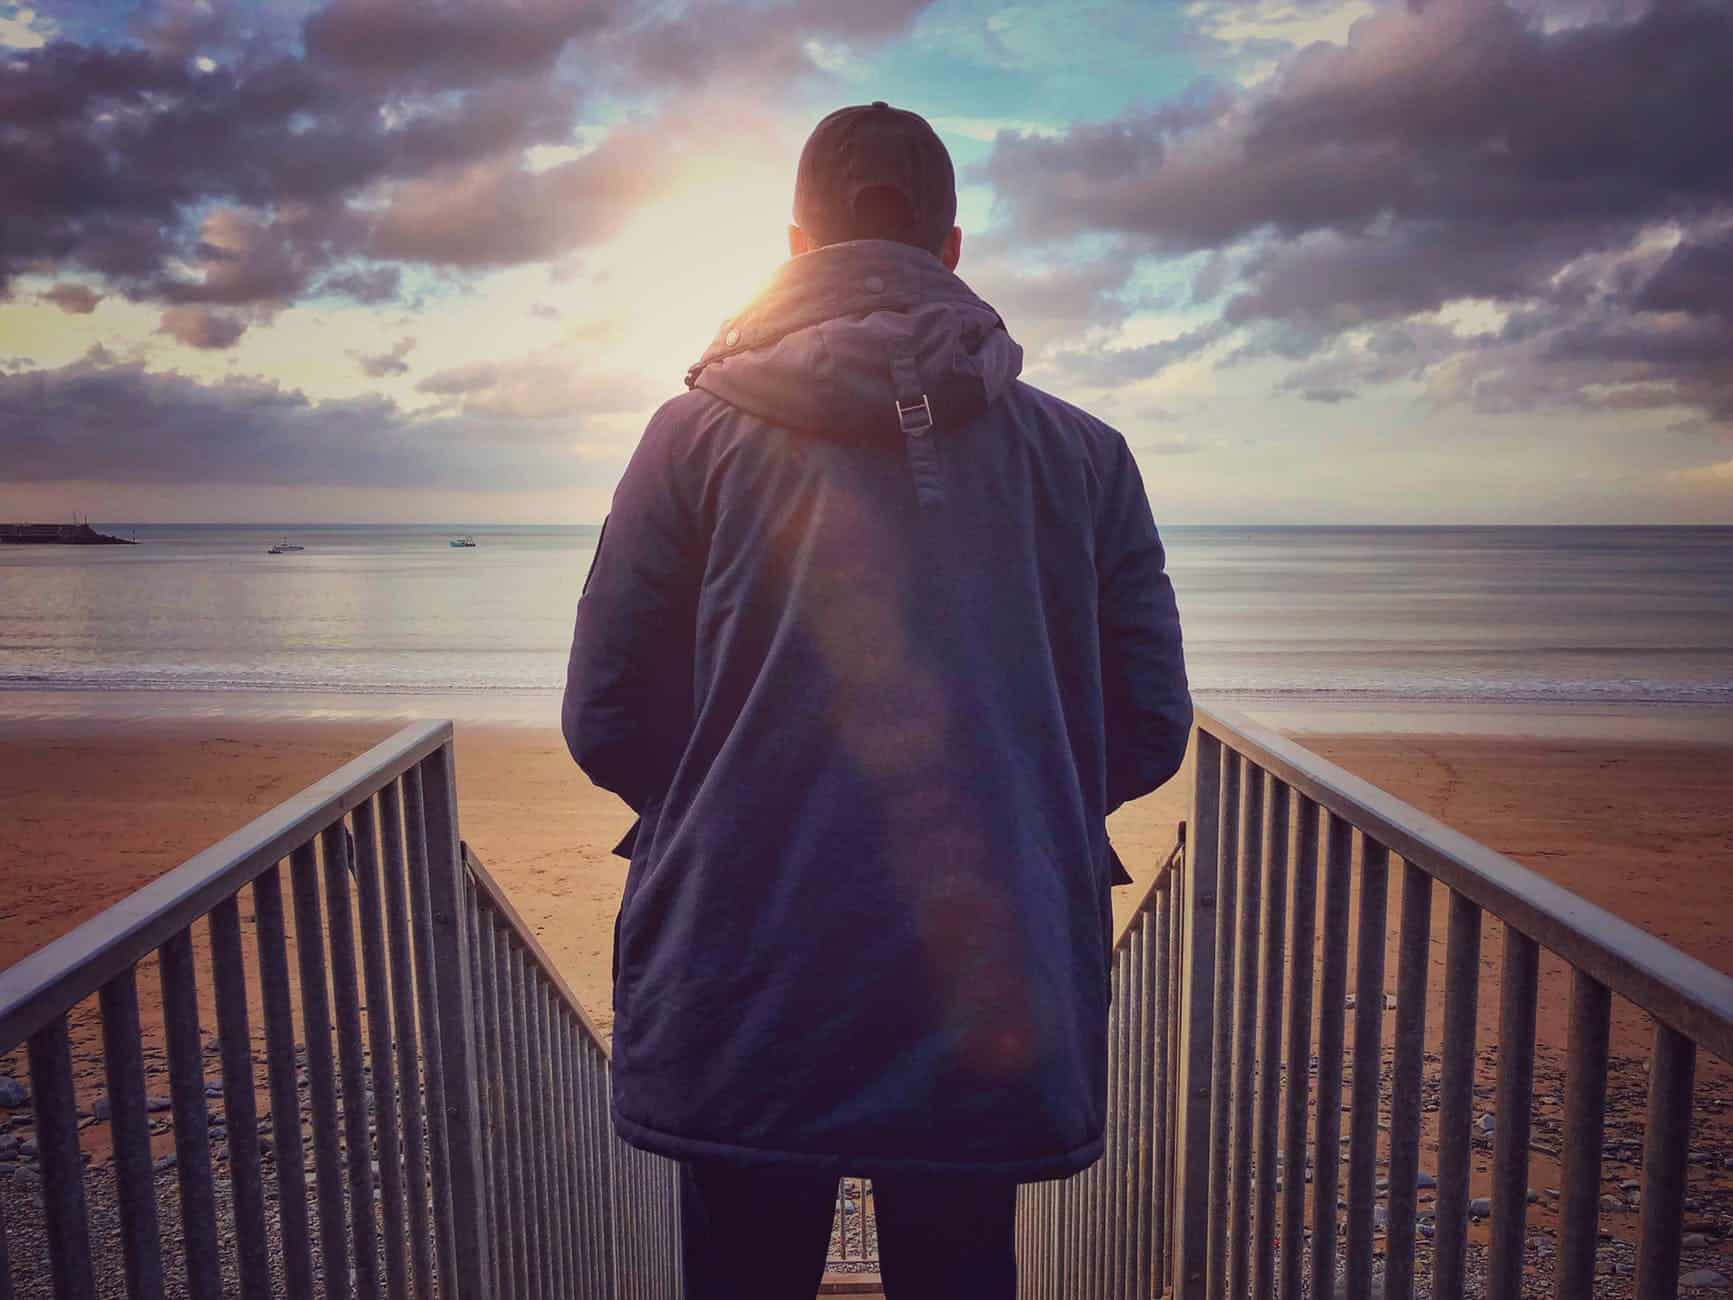
- Shift your perspective drastically
The majority of travel photos by amateurs are shot from eye-level, because that’s the position that they see the image they want to capture from. If you’d like your photos to look unique and stand out more – try shifting that perspective drastically.
By positioning your camera lower or higher, you’ll get a view that is very different – and you could frame some breathtaking photos.
- Try shooting at different times of day
Although in general it is always best to snap photos when the light is good – you should try shooting at different times of the day regardless. The subtle changes in light throughout the day can make the images you capture look very different, and you should definitely try shooting at dawn or dusk as well when the light is warm and soft.
- Snap photos in different types of weather
Not only does the weather affect the lighting in your photos, but it also makes them unique. Shooting travel photos when there’s lots of wind, or when it is raining or snowing can alter the scene completely and make it much more visually interesting.
Keep in mind that if you are going to be snapping photos in inclement weather – you’ll need to be prepared. Make sure you protect both yourself and your camera, so that things don’t go awry.
- Experiment with your camera settings
Regardless of whether you’re using a digital camera, smartphone or DSLR – you need to experiment with its settings. While leaving it on ‘Auto’ may be fine for casual photography, if you want your travel photos to really look great then you need to have more control than that.
As a starting point you should try playing around with the ISO, aperture, and shutter speed settings that each can affect the amount of light the sensor is exposed to. On some cameras the setting may be rolled into a single one called ‘Exposure’. The best way to learn more about each is to see how they affect your photos firsthand.
- Don’t be afraid to explore
If you’re hoping to find hidden treasures that you can photograph, you must not be afraid to explore. Head off the beaten path and away from the common tourist spots to see a very different side of the place that you’re at.
Of course while you explore be sure to bring your camera with you, and talk to locals to find out more about the place and anything interesting that might be in the vicinity.
- Take your time and scout locations
Many travel photographers will spend hours wandering around a location before deciding how they want to frame the photos they intend to snap. Some may even scout locations a day in advance so that they know what to expect and can decide on the time of day when the lighting may be just perfect.
It is entirely up to you how you want to go about it – but be sure to take your time, get a feel for the location, and find the shots that you think will really look great.
Don’t Forget the Post-Processing
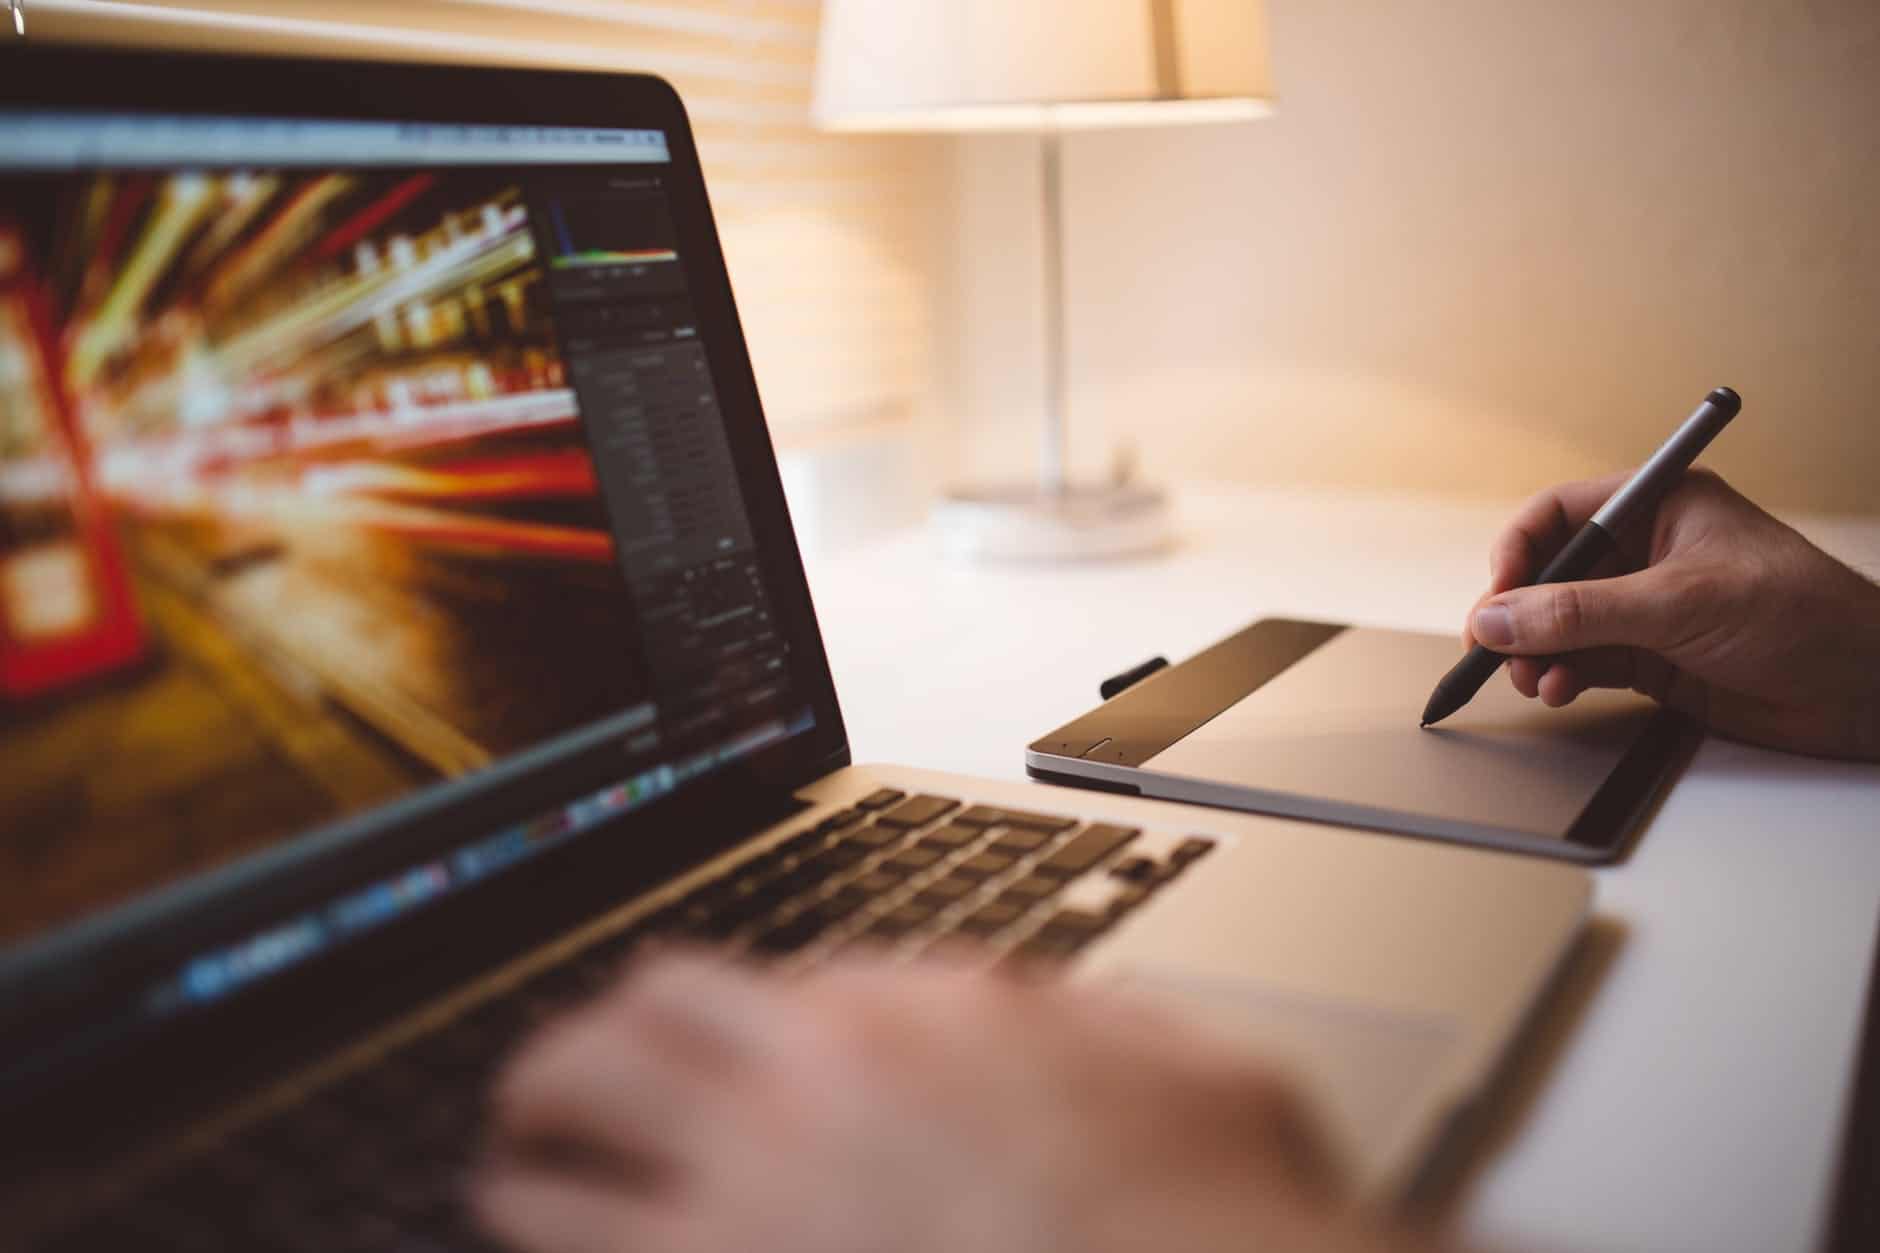 As much as you can take steps to make sure your travel photos look as perfect as possible – sometimes there may be factors out of your control. That is why after you’re done you should go over your travel photos and select the ones that you think can be salvaged with a bit of editing.
By cropping photos, adjusting the color settings, or even rotating them slightly – you could completely alter their appearance. That is why post-processing is a critical part of snapping impressive travel photos, and cannot be ignored.
While it is true that editing photos can be tricky and many editors have steep learning curves, if you want you could try Movavi Photo Editor. It is an intuitive and user-friendly Windows photo editor that will make editing your travel photos a breeze. With it you can easily improve the color settings of your photo, crop or rotate them.
In fact if you explore the features in Movavi Photo Editor further you’ll see it can do a lot more and you could remove unwanted elements, replace the background, apply unique filters, touch up portraits, and more. Suffice to say it will definitely help you to add any finishing touches you need to your travel photos and bring out the best in them.